


If you’ve ever wondered how to create a blog but didn’t know where to start, you’re in the right place. Whether you’re looking to share your passion, build an online business, or simply express your ideas, blogging is an exciting and accessible way. The good news is that creating a blog is easier than ever, even if you have no technical experience. In this guide, we’ll walk you through everything from choosing the right platform to publishing your first post, helping you get your blog up and running smoothly.
How to create your first blog
1. Register a domain name
If you haven’t done so already, you’ll need to register a domain name. Your domain name is your blog’s address on the web — like “myawesomeblog.com”. It’s how people will find you, so it is important to pick something memorable and relevant to your blog’s topic or niche. Once you’ve settled on a domain name, you can register it through our website.
If you’re stuck, check out our blog post on how to choose a domain name.
2. Select a Hosting Service For Your Website
After choosing your domain, the next step is to find a reliable hosting provider. Web hosting is like renting space on the Internet for your blog. Your blog’s files must live somewhere; that “somewhere” is a web hosting service.
What to Look for in a Hosting Service:
- Reliability and speed: You want your site to load quickly and be available 24/7.
- Customer support: Having access to good customer support can save you a lot of headaches, especially if you’re a beginner.
- Ease of use: Look for hosting providers that offer easy WordPress installation and management.
VentraIP offers WordPress hosting designed to make your blogging journey seamless. With lightning-fast speeds, 99.9% uptime, and exceptional customer support available 24/7, you can focus on creating great content while we handle the technical details. Plus, our hosting plans include easy WordPress installation and management tools, making it perfect for beginners and experts alike. Get started with VentraIP WordPress hosting today and give your blog the reliable foundation it deserves!
3. Installing WordPress After Purchasing Hosting
Once you’ve registered your domain name and chosen your hosting provider, it’s time to install WordPress. Don’t worry — it’s not as complicated as it sounds. Most hosting providers offer a one-click installation process for WordPress, making it quick and easy to start. If you want to install WordPress on your VentraIP web hosting service, follow this guide.
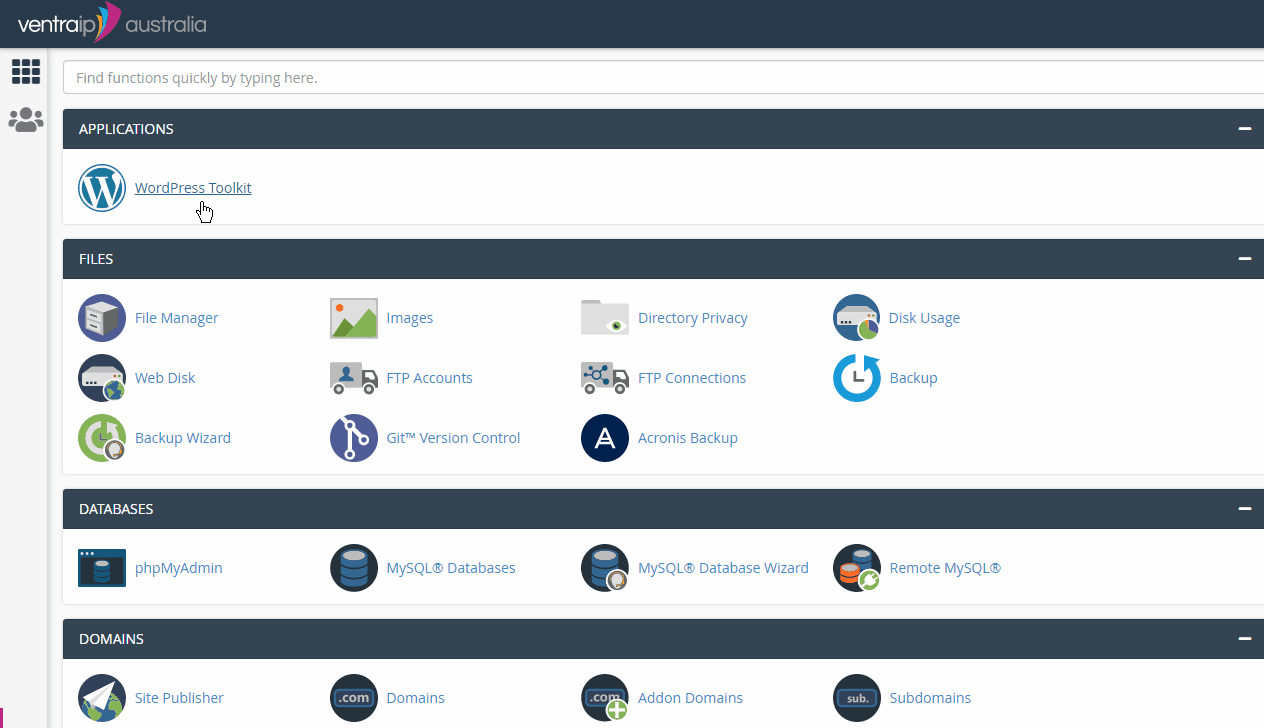
Once installed, you can access your WordPress dashboard by visiting your-domain.com/wp-admin and entering your username and password. This is where you’ll manage all the aspects of your blog, from design to content.
4. Start blogging
Now that your blog is set up, it’s time to write your first post! This is where the fun begins. Content is the heart of your blog, and it’s what will keep people coming back.

Writing Your First Blog Post:
- Choose a topic: Write about something you’re passionate about or knowledgeable in. For your first post, it might be helpful to introduce yourself and your blog’s purpose.
- Use the WordPress editor: The WordPress editor is simple to use. Click Posts > Add New in your dashboard to start writing. The editor allows you to add headings, images, links, and format your text easily.
- Preview and publish: Once you’re happy with your post, click the Preview button to see how it looks. When you’re ready, hit Publish to make it live!
Additional Steps (Recommended)
Make your blog unique with a theme
Once WordPress is installed, it’s time to make your blog look how you want it to. WordPress offers many themes and pre-designed templates that control your site’s overall look and feel.
Choosing a Theme:
- Browse the WordPress theme library: WordPress has thousands of free themes you can easily install and preview.
- Think about your audience: Your theme should match the tone and purpose of your blog. For example, if you’re starting a travel blog, you might want something clean and photo-friendly.
- Mobile responsiveness: Most people will access your site via smartphones, so make sure the theme you choose looks good on mobile devices.
You can preview how each theme looks before committing to it. Once you find one you like, simply click “Install” and then “Activate.”
Installing Popular WordPress Plugins
Now that your WordPress blog is running, it’s time to enhance its functionality with plugins. Plugins are small software add-ons that you can install on your WordPress site to add features, optimise performance, or improve the overall user experience—without having to code anything yourself.
Here are a few essential plugins to get you started:
- Rank Math: This powerful SEO plugin helps you optimize your blog for search engines, making it easier for people to discover your content. Rank Math provides real-time analysis of your posts, helps with keyword placement, and guides you in improving your on-page SEO. It’s user-friendly and packed with advanced features.
- Elementor: If you want complete control over your blog’s design without touching a line of code, Elementor is a must-have. It’s a drag-and-drop page builder that allows you to customize every aspect of your site’s layout, from headers and footers to content blocks. With Elementor, you can create visually stunning pages with ease.
- Akismet: Protecting your blog from spam is essential, and Akismet is one of the best plugins to handle this. It automatically filters out spam comments, allowing you to focus on engaging with your real audience while keeping your site clean and free of unwanted messages.
- LiteSpeed Cache: Speed matters. A fast-loading site provides a better user experience and improves your search engine rankings. LiteSpeed Cache is a powerful caching plugin that optimizes your blog’s performance by reducing load times and improving efficiency. It’s especially useful if your hosting provider uses LiteSpeed web servers.
- Google Site Kit: Want to track your blog’s performance? Google Site Kit brings Google Analytics, Search Console, AdSense, and PageSpeed Insights directly to your WordPress dashboard. This all-in-one plugin allows you to see how visitors interact with your site, monitor search rankings, and track revenue from ads all in one place.
Securing Your WordPress Blog
Once your blog is live, keeping it secure should be a top priority. WordPress is a popular platform, which can make it a target for hackers. However, by taking a few simple steps, you can protect your blog from unwanted threats.
Basic Security Tips:
- Install a Security Plugin: Plugins like Wordfence or Solid Security (formerly iThemes Security) help monitor your blog for suspicious activity and block potential threats.
- Use Strong Passwords: Create unique, strong passwords for your WordPress admin and hosting accounts. Consider using a password manager to generate and store your passwords.
- Keep Everything Updated: Regularly update WordPress, plugins, and themes. Updates often include security patches to fix vulnerabilities.
What’s Next After Learning How to Start a Blog
Now that you’ve learned how to start a blog, you’ve taken the first big step in creating your own online space. From setting up WordPress and picking the perfect theme to writing your first post, you’re on the way to sharing your thoughts, expertise, or passion with the world.
But starting a blog is just the beginning. There are plenty of ways to get more traffic to your website, but here are some good places to start:
- SEO and Traffic Generation: Learn how to optimise your website for search engines and attract more visitors through organic traffic.
- Content Strategy: Explore developing a consistent posting schedule, brainstorm engaging topics, and write for different audiences.
- Social Media: Create a social media strategy that benefits your website.
- Monetisation: If you’re interested in turning your blog into a source of income, explore options like affiliate marketing, sponsored posts, and advertising.
Your blogging journey has just begun, and there’s so much more to learn. Dive deeper into these related topics to build a successful and thriving blog that reaches its full potential.

