


Support Centre
Find the answers to your questions and get the support you need with the VentraIP help centre.
Browse by Popular

Domain Name
- What is a domain name?Eligibility criteria for registering .AU domain namesPremium domain names explained

Web Hosting
View All
Email Hosting
- Outlook 365 (Classic) Email Setup GuideMail app setup for iOS (iPhone + iPad)Gmail (webmail) email setup

Google Workspace
- Getting Started with Google WorkspaceGoogle Workspace support resourcesTransferring an existing Google Workspace service to VentraIP

Account
- How do I reset my VIPcontrol password?How do I create a VentraIP account?How can I see who accessed my VentraIP account?

Troubleshooting
- How do I clear my browser cache?Troubleshooting a ‘500 internal server' errorTroubleshooting with a ping test
Getting Started with the VIPsites Website Builder
Follow this step-by-step guide to get started with VentraIP’s new website builder.
- Follow our Claim your VIPsite guide!
- Ensure you are logged in to VIPcontrol.
- Navigate to My Services > Websites & Hosting > VIPsites.
- Click Add a new Website
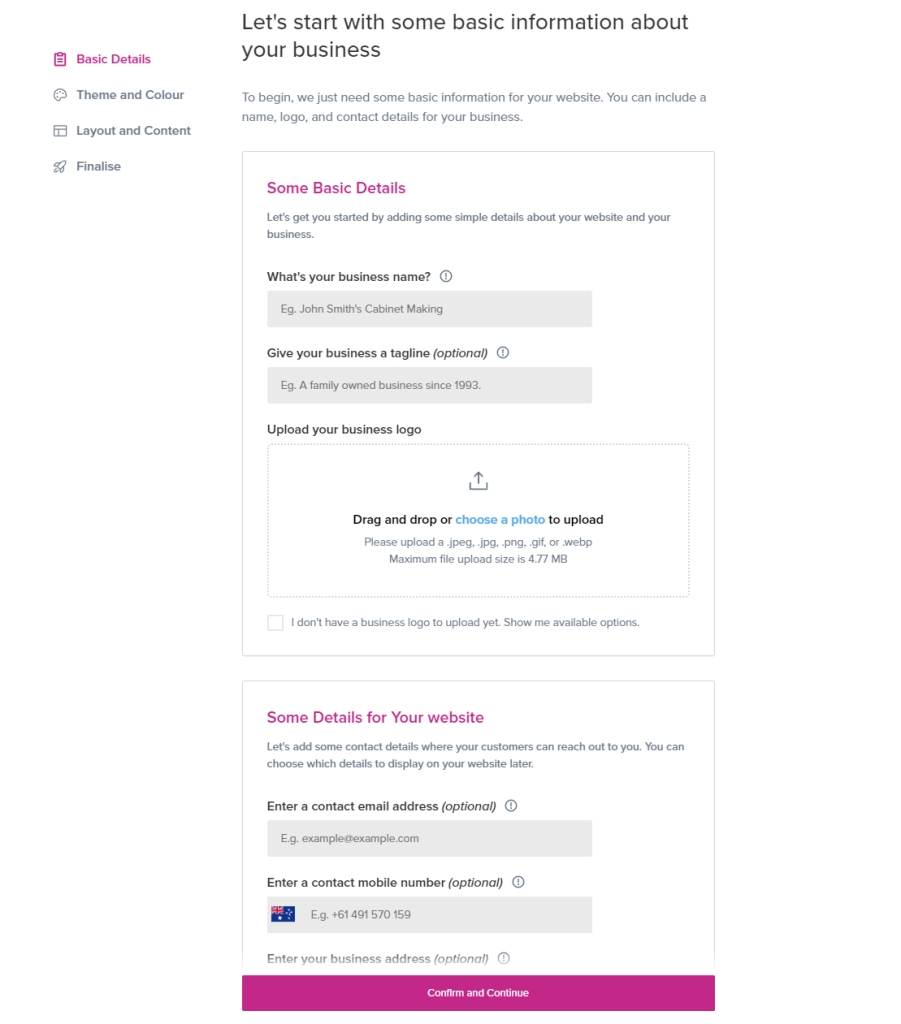
- You will now be prompted to input some basic information about your webpage such as; the website name, logo, contact details and operating hours. (Don’t worry, you’ll be able to change this later if you need to!)
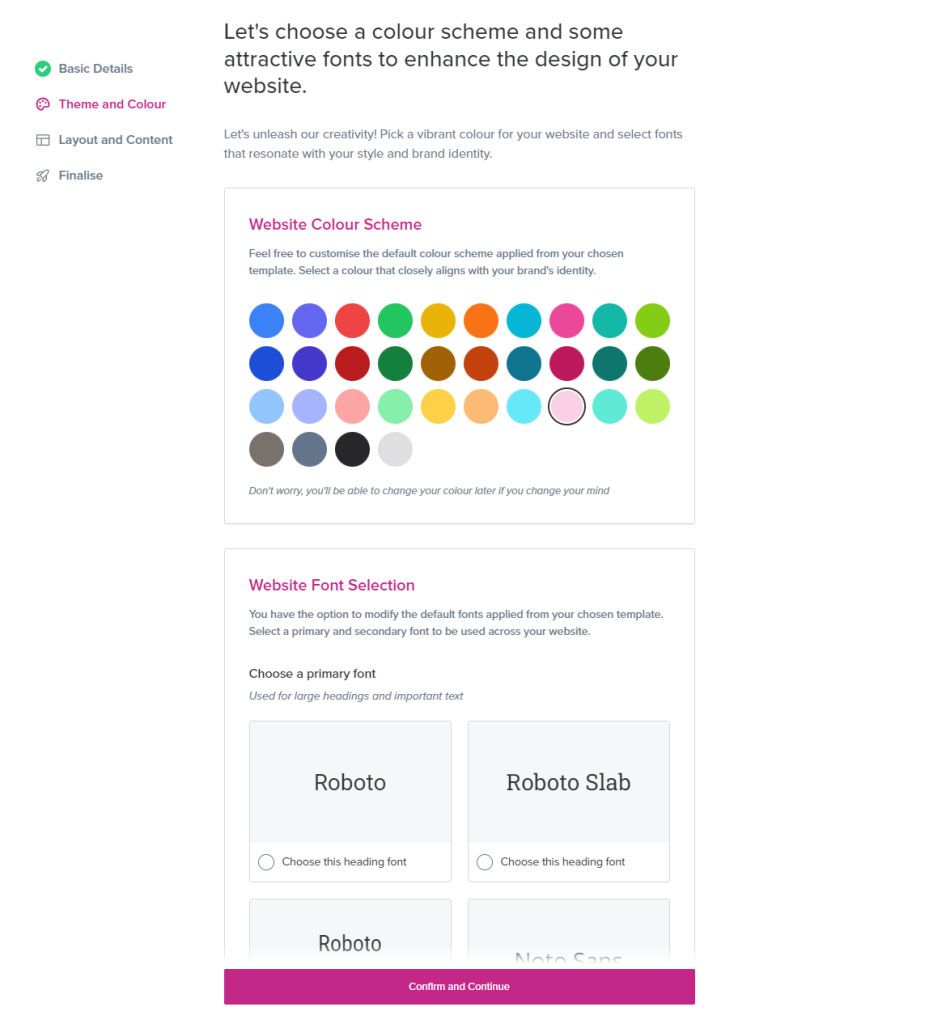
- You will now be able to select your Webpage Colour Scheme and fonts
- You will then be presented with a wide variety of templates and the option to create your own custom template.
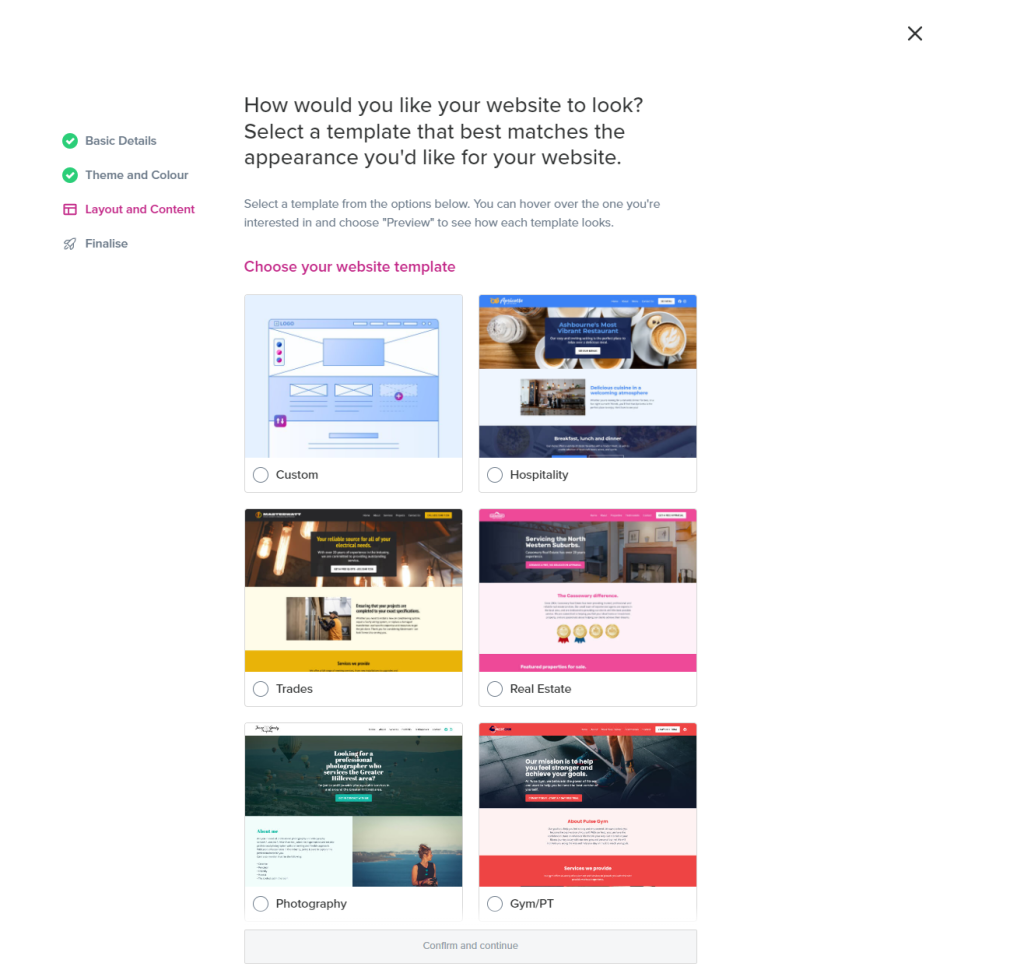
- Once you have selected your template of choice click Confirm and Continue.
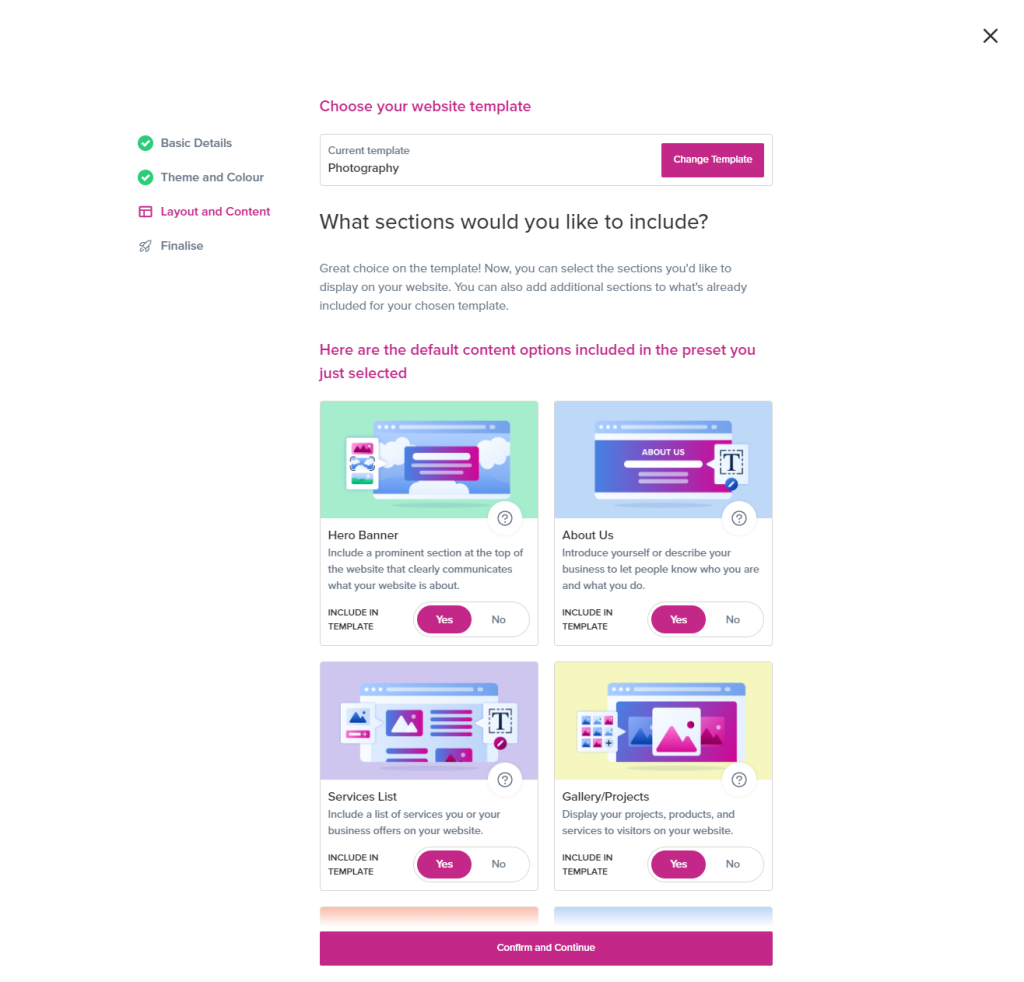
- After a template is selected you will then be prompted to include additional sections for your website.
- You will then be prompted to customise the navigation fields on your new website and add some social media links. A live feed of your new VIPsite will show on the right-hand side so you can view updates in realtime.
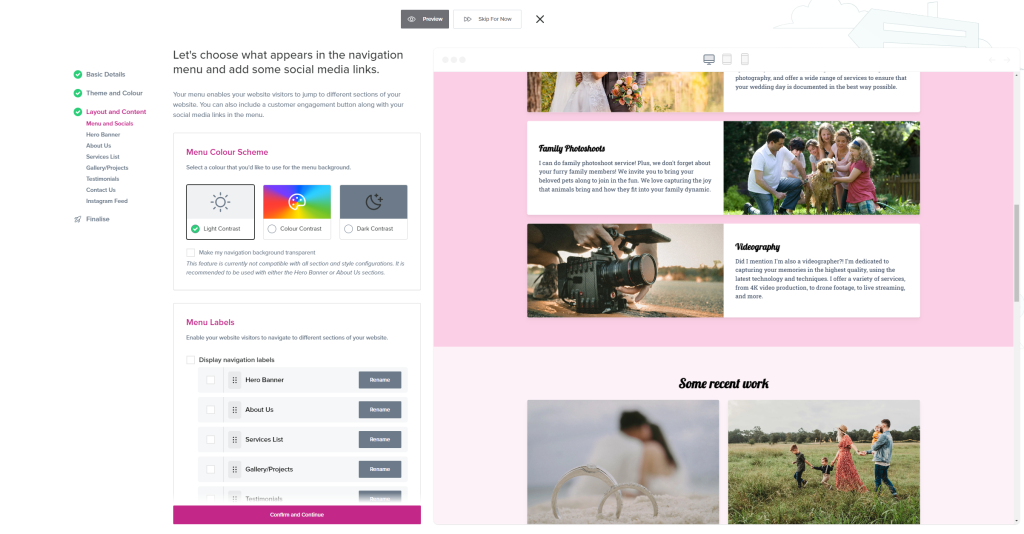
- Then click Confirm and Continue
- Now to add the Finishing Touches including a Favicon, Page Title and a description of the page
Need help? Watch our VIPsites Video Tutorials on YouTube below!

We Are Here to Help You
Get in touch with one of our local experts at any time.