


Support Centre
Find the answers to your questions and get the support you need with the VentraIP help centre.
Browse by Popular

Domain Name
- What is a domain name?Eligibility criteria for registering .AU domain namesPremium domain names explained

Web Hosting
View All
Email Hosting
View All
Google Workspace
- Getting Started with Google WorkspaceGoogle Workspace support resourcesTransferring an existing Google Workspace service to VentraIP

Account
- How do I reset my VIPcontrol password?How do I create a VentraIP account?How can I see who accessed my VentraIP account?

Troubleshooting
- How do I clear my browser cache?Troubleshooting a ‘500 internal server' errorTroubleshooting with a ping test
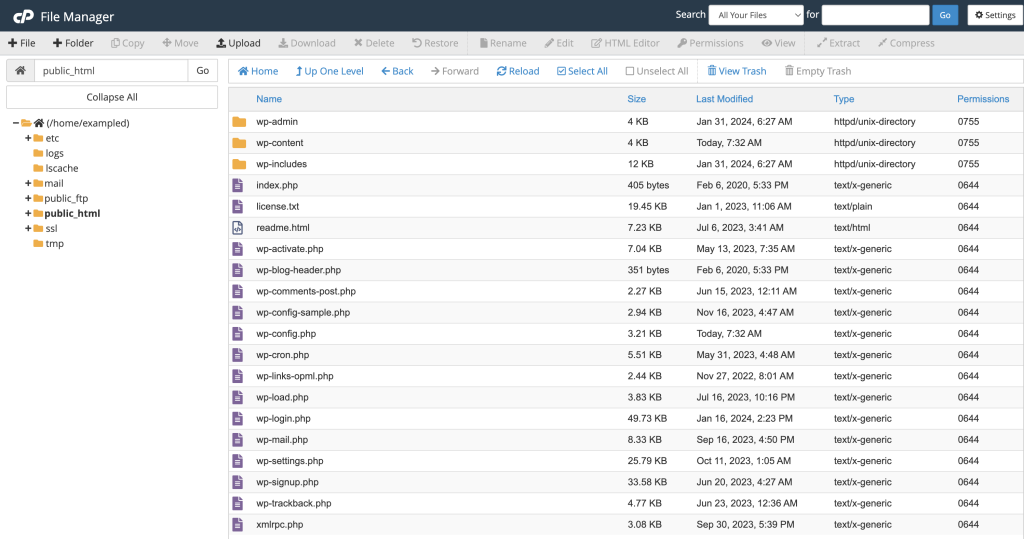
Introduction to cPanel File Manager
Within cPanel web hosting services is a File Manager tool which can be used to manage files located within your service. It allows for the adding and removal, moving, renaming, and editing of files within the cPanel hosting service. This is beneficial for smaller changes or when access to an FTP application is not possible.
To access the cPanel File Manager please follow these steps:
- Log in to your cPanel service.
- Click the File Manager icon.
What are some basic functions?
To upload files:
- Click Upload.
- Select your file permissions or let cPanel define them automatically (644).
- Click Choose File.
- Select a file from your local computer.
- If replacing an existing file tick the box that says Overwrite existing files.
- Click Open.
Your file has been uploaded.
To create a new folder:
- Click the Folder button with a plus next to it.
- Enter the name of the new folder.
- Enter a location for the folder to nest under, such as public_html.
- Click Create New Folder.
Creating a new file:
- Click the File button with a plus next to it.
- Enter the name of the new file.
- Enter a folder location for the file to nest under, such as public_html.
- Click Create New File.
Editing an existing file:
- Right-click a file in your main window.
- Click Edit or Code Edit.
- Click Edit on the popup window.
- Update the file using the editor.
- Click Save Changes.
Deleting files/folders:
- Right-click a file or folder in your main window.
- Click Delete.
- Check the box if you wish to delete the item permanently.
- Click Confirm.
- Update the file using the editor.
- Click Save Changes.

We Are Here to Help You
Get in touch with one of our local experts at any time.